As an Amazon Associate, we earn from qualifying purchases. Some links on this site are affiliate links at no extra cost to you. Our recommendations are based on thorough research and editorial judgment.
Sanding Mistakes That Show Through Paint (and How to Fix Them)
Ever tried painting over a surface that looked smooth, only to discover those pesky sanding mistakes? It’s frustrating, right? Even the tiniest imperfections can rear their heads after the first coat.
In my experience, common issues are uneven sanding, wrong grit paper, and forgetting to wipe off dust.
So, how can you fix these problems? Here are a few smart tips:
- Grab some fine-grit sandpaper to smooth out any rough spots.
- Apply a coat of primer to help seal the surface and make your paint go on evenly.
- Before you start painting, take a damp sponge and wipe down your surfaces to get rid of lingering dust.
Another trick is to maintain consistent pressure while sanding. You don’t want to create high spots that will show through your paint later.
If you run into major flaws or trouble matching colors, don’t hesitate to call a pro for help.
Truth is, achieving a flawless finish takes a little patience and care. Just remember these tips, and you’ll be on your way to a beautiful paint job.
What sanding mistakes have you run into before, and how did you handle them?
Key Takeaways
- Uneven sanding and deep scratches can lead to noticeable imperfections; sand lightly with fine-grit sandpaper to minimize these damages before repainting.
- Always clean dust and debris post-sanding to ensure proper paint adhesion and a smooth finish, preventing textured surfaces.
- Sand between coats using fine-grit paper to enhance adhesion and prevent issues like peeling or flaking paint.
- Apply quality primer on affected areas, allowing it to dry completely, to improve paint adherence over imperfections.
- For significant flaws, consider professional help to ensure proper corrections and color matching for a flawless appearance.
Identify Common Sanding Mistakes
Sanding before painting isn’t as easy as it sounds, and it’s easy to mess up in ways that can ruin your project. Have you ever put so much effort into painting only to see flaws?
Let’s talk about some common mistakes that could trip you up.
- Uneven sanding: If you don’t sand evenly, you might end up with low spots and scratches that become painfully visible once the paint is up. Nobody wants that!
- Incorrect sanding grit: Using grit that’s too rough can leave deep scratches, and trust me, you’re going to notice those even after applying multiple coats of paint.
- Not sanding enough between coats: This is a huge one. If you skip sanding between coats, paint won’t stick well, and you’re likely to find peeling or flaking once it’s dry.
- Not cleaning up the dust: After sanding, dust is a given. If you don’t clean it off properly, you’ll end up with an imperfect finish that looks textured instead of smooth.
- Sanding in just one direction: This technique can result in uneven surfaces, which isn’t what you want if you’re aiming for a polished look.
Additionally, using sanding discs with dust collection features can help maintain a cleaner surface and improve your final paint finish.
So why do these mistakes matter? Recognizing and avoiding them will make a big difference in getting a professional-looking finish.
Keep these tips in mind as you prep for your painting project. It’s all about the details! What step will you focus on today to ensure better results?
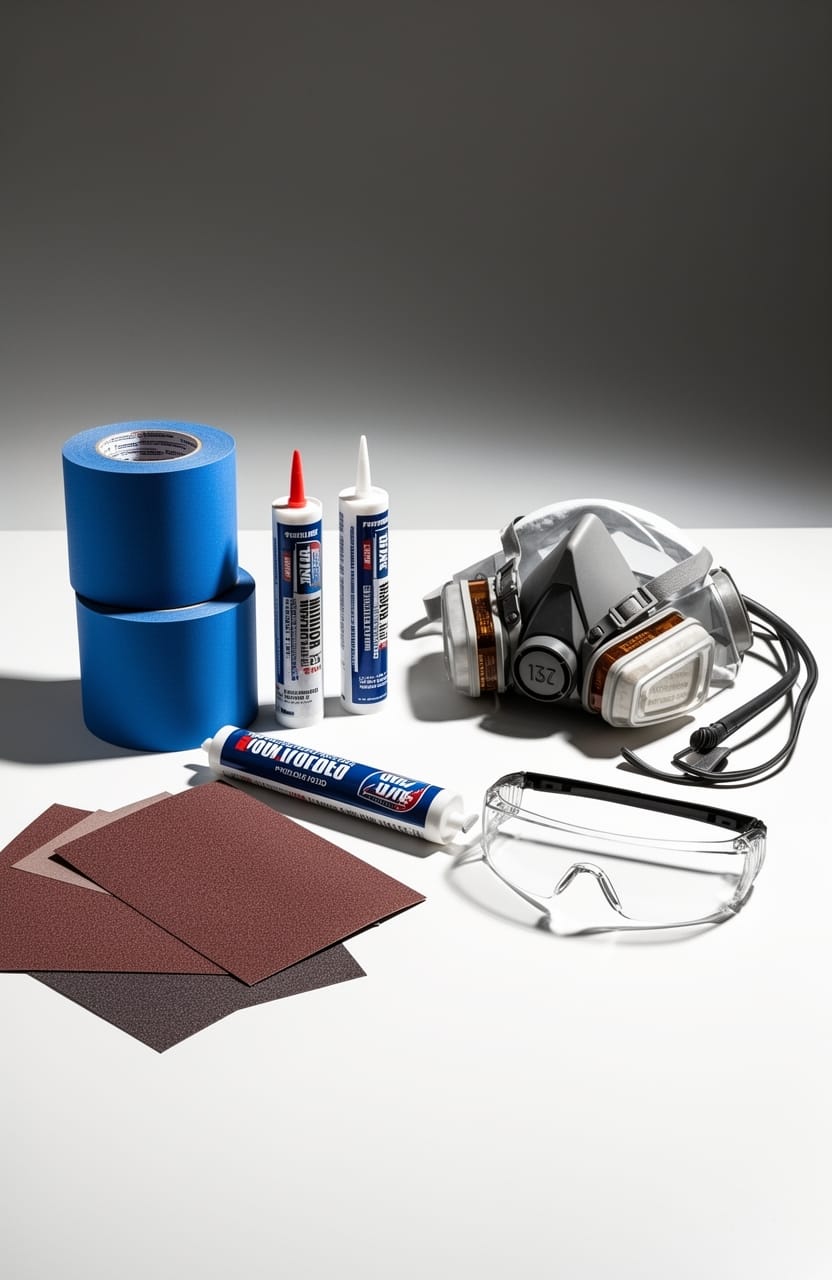
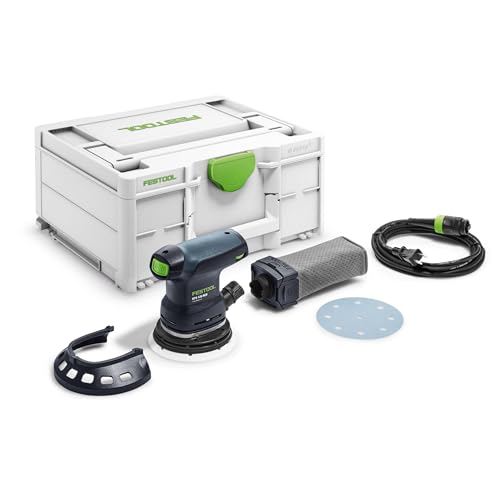
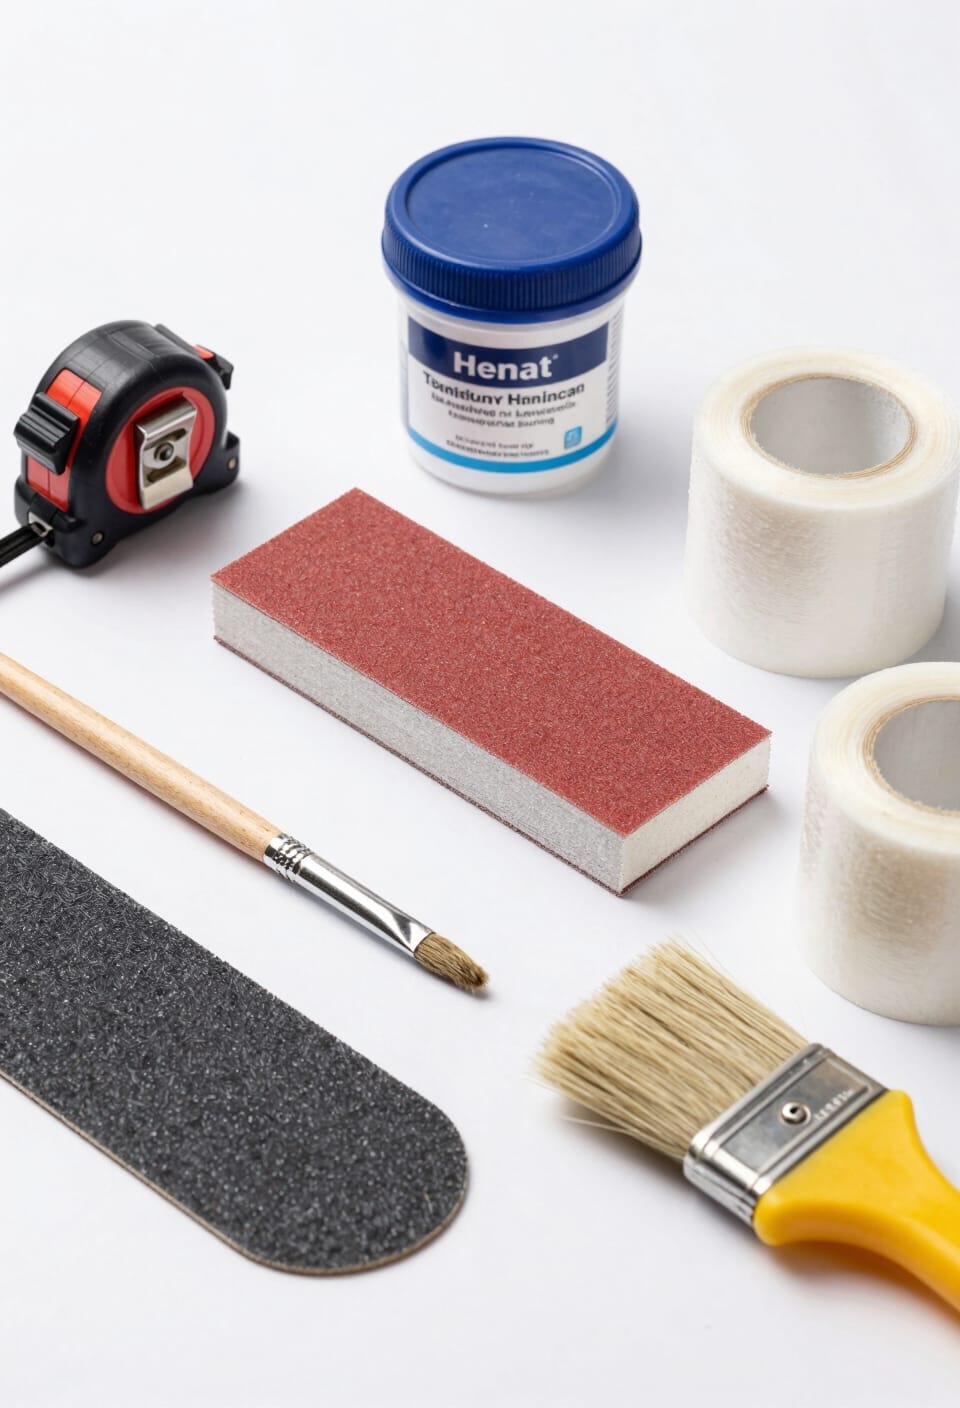
Recommended Products

Variable speed range from 2200-4000 SFPM (Belt) and 1547-2813 RPM (Disc) allows users to finish or grind a wider range of material

Motor: Heavy-duty 1 HP, 120V/240V, single-phase, 12A/6A, prewired 120V

Graphite covered steel platen runs cooler, increasing machine and belt life
Simple Solutions to Repair Sanding Errors
Ever find yourself frustrated by sanding mistakes? You’re not alone. These slip-ups can happen to anyone, but the good news is that they’re often fixable if you take the right steps.
First off, don’t panic. Lightly sanding the affected areas with some fine-grit sandpaper can do wonders. Just be cautious—it’s easy to unintentionally damage the underlying surface if you’re too aggressive.
Want an even base? Try applying a good-quality primer. It’s essential to make sure it’s completely dry before you paint, as this helps with adhesion. And if you’re dealing with deeper scratches, a buffing compound might just be your best friend. It can remove visible marks and prepare your surface for a fresh coat of paint.
Before launching into larger applications, it’s wise to test your touch-up paint on a small area first. This saves you from any color-matching disasters later on. And if you’re using spray paint, don’t forget to mask off surrounding areas. Overspray can be a real headache, and nobody wants to do more cleanup than necessary.
For best results, consider using sanding screens with an open mesh design to reduce clogging and improve sanding efficiency.
Recommended Products

MULTI-HOLE PAD SYSTEM: allows flexibility so tool can use a wide variety of 5-inch abrasive discs
Ergonomically formed to fit comfortably in any size hand. Compact and light weight enough for extended vertical and overhead use.
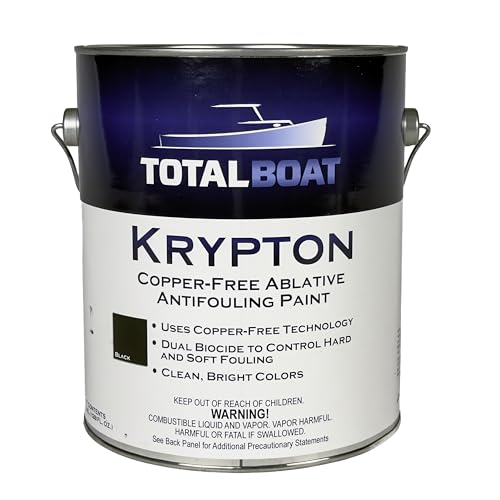
HIGH-PERFORMANCE MARINE ANTIFOULING BOAT BOTTOM PAINT provides superior single-season protection against barnacles, weeds, algae & slime in fresh water, salt water, and brackish water
Fixing Uneven Surfaces: Quick Solutions
Have you ever looked at a wall or surface and thought, “This needs some serious work?” Fixing uneven surfaces doesn’t have to be a huge headache. With a few simple steps, you can make it happen smoothly and efficiently.
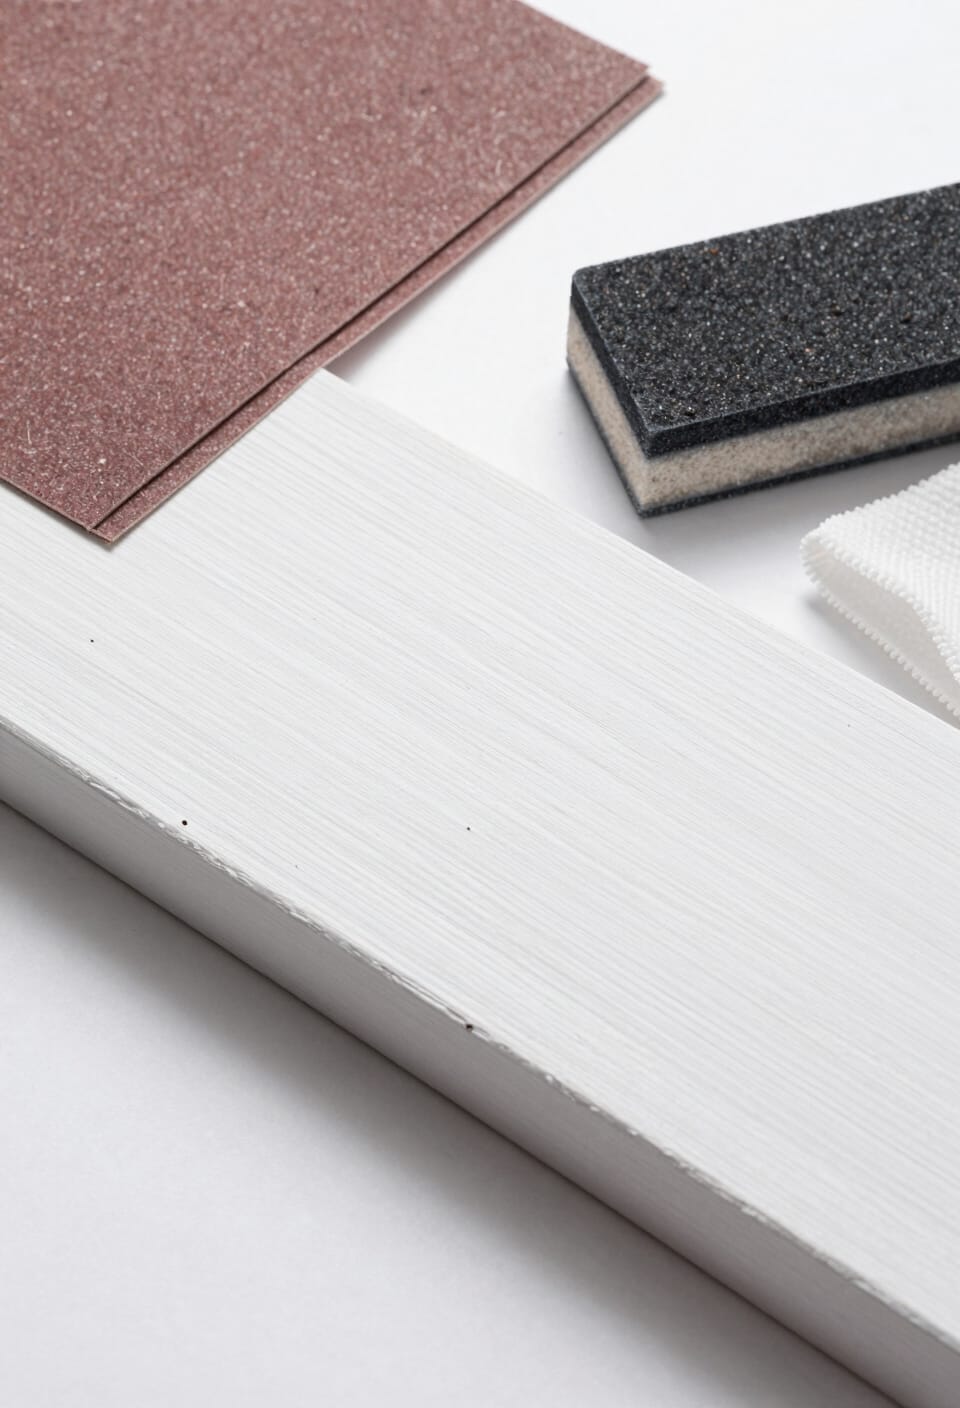
Start by tackling those rough spots. Grab some medium-grit sandpaper and go to town on any visible flaws. For the finishing touch, switch to fine-grit sandpaper. It really does make a difference in creating that sleek, polished look.
Now, if you’ve got some really uneven areas, you’ll want to apply layers of joint compound. Just keep in mind that it’s essential to let each layer dry completely before you sand again. After that, a quick wipe down with a damp sponge helps clear away any dust that might interfere with your painting prep.
Ever thought about adding some texture to your surfaces? Here’s a great trick: using a spray texture machine can give you that lovely orange peel effect. Not only does it hide imperfections, but it also ensures an even surface for the paint to stick. This step can seriously enhance your overall finish.
In addition, using a primer with strong adhesion can significantly improve the durability and smoothness of your paint job.
In the end, the right preparation is key to achieving the best results. By following these steps, you’ll find that fixing uneven surfaces becomes a lot less intimidating. So, what project are you planning to tackle next?
Recommended Products
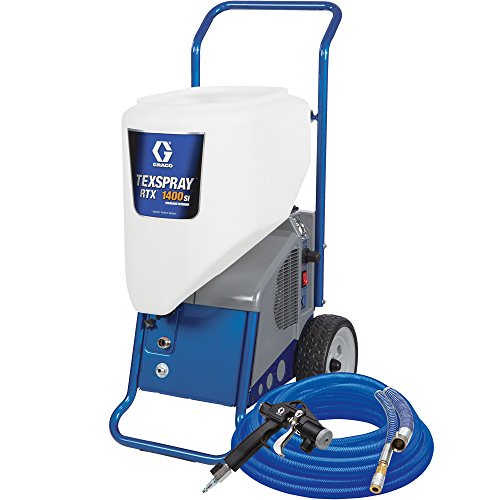
The RotoFlex ll pump delivers smooth material flow for uniform coverage and a consistent spray pattern - 1. 4 gpm output to get the job done quickly

Pressure-Boosted hopper gun is pressurized for increased material flow and unmatched productivity

【Dual-Mode Fitness Machine】Innovatively integrates an elliptical trainer and a recumbent exercise bike into one system. Two distinct workout modes enable full-body muscle training
Tools for Achieving a Flawless Finish
Achieving a flawless finish can feel a bit overwhelming, right? But don’t worry, I’ve got some solid tips to help you nail that painting project with ease.
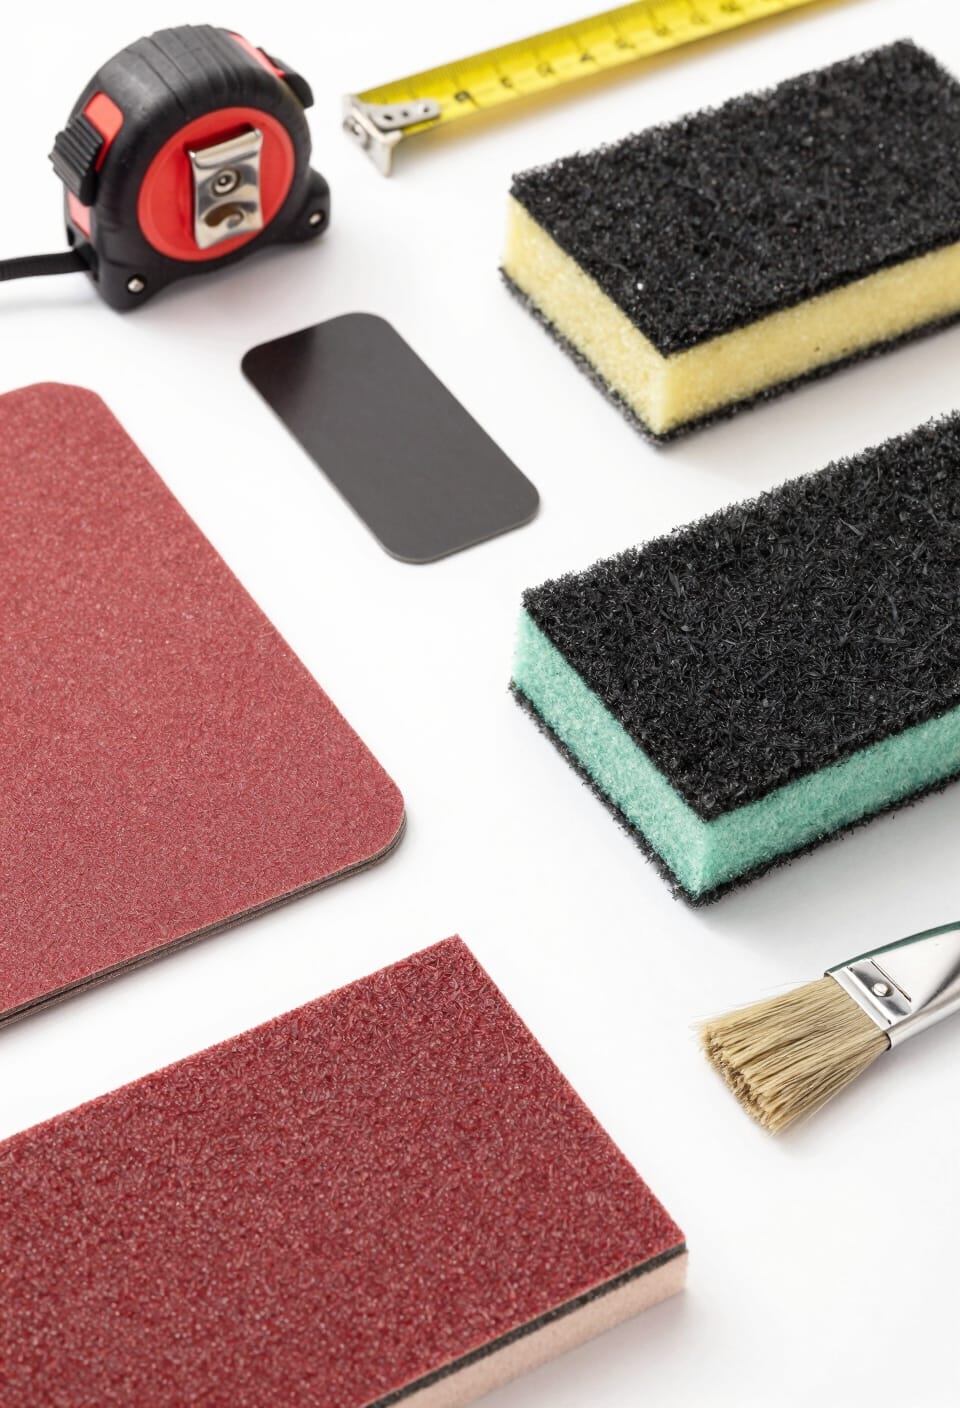
– Start with sandpaper. Grab some in the 3000-5000 grit range. Why? These finer grits do a great job of reducing scratches and imperfections before you even think about applying paint.
When it comes to those stubborn deeper scratches, a power polisher can really save the day. It can help restore the surface quickly and effectively, and if used properly, it won’t damage what’s underneath.
Buffing compound is another key player in this game. After you sand, smooth out any remaining imperfections by applying it. Trust me, this step can do wonders for that perfect finish you’re aiming for.
Now, let’s not forget about surface cleaning. After sanding, always clean off any dust or debris. This is super important for making sure your paint adheres correctly. You don’t want to put in all that work only for the paint to peel later!
And for those moments when you feel like your sanding might have left some marks, here’s the trick: apply a third coat of paint. It can effectively cover any mistakes, leaving you with a uniform appearance that looks great.
For extra protection and long-lasting shine, consider using a clear coat restoration product after painting to safeguard the finish from environmental damage.
Recommended Products

Produces a soft & smooth consistent finish for the DIYer or Pro

PROFESSIONAL 11 INCH SIZE – 11 inch sanding discs designed for wide surface coverage and steady control during dry sanding and finishing work. Compatible with many orbital disc sander tools and orbital sander pads used in workshops and repair environments. Ideal for countertops, marine parts, and repair tasks using 11 inch orbital sanding discs, orbital sander sandpaper, circular sander pads, circular sander sandpaper, sanding pad systems, and power sanding discs.

PROFESSIONAL SURFACE FINISH – These 11 inch sanding discs (3000 Grit, 50 Pack) are ideal for achieving consistent, high-quality results on wood, metal, and plastic. Made from premium aluminum oxide sandpaper disc, each sandpaper discs delivers a uniform scratch pattern that prepares surfaces for paint or stain. These round sanding discs or orbital sander discs are designed for orbital sander pads, giving professionals the precision and finish needed across multiple projects.
Best Practices to Avoid Sanding Mistakes
Ever tried sanding something only to end up with more scratches than before? It’s frustrating, and I’ve been there. But with a few simple tips, you can steer clear of those common pitfalls and get a smoother finish every time.
Start with fine-grit sandpaper—aim for 3000 to 5000 grit. It’ll help you avoid those deep scratches that can wreck the look of your paint job. Then, remember to sand lightly and evenly. You want the surface smooth without digging into the layers underneath, which can mess with the color and sheen.
Here’s the trick: maintain consistent pressure and direction while sanding. It’ll help prevent any high or low spots that will glare back at you once everything’s painted. Oh, and don’t forget to clean the surface thoroughly afterward. Dust and debris might seem minor, but they can seriously mess with how well your paint sticks and how good the finish looks.
I recommend considering a primer too. It gives you a solid base for the paint, helping to conceal imperfections for a polished result. So, why does this matter? Because every little detail contributes to the overall finish you’re aiming for.
In a nutshell, by using the right sandpaper, sanding with care, and prepping your surface well, you’ll get the best results. Choosing sandpaper with clog-resistant technology can also prolong its effectiveness during your project. What sanding tips have worked for you?
Recommended Products
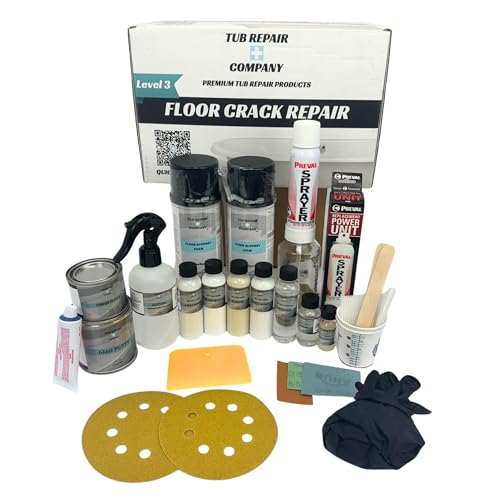
Tub and Shower Floor Crack Repair Kit: The Floor Crack bathtub repair kit is designed to repair most weight bearing floor cracks up to 12 inches long by adding support and matching the color for a strong, hard to notice repair.

The HORL premium sharpness set brings out the full sharpness potential of particularly fine blades. The set is suitable for HORL2 and HORL2 Pro. The set is not compatible with the HORL2 Cruise.

◆【Powerful Engine】 SPTA 180mm rotary polisher with powerful motor 1200W, all ball-bearing construction for long life. This great electric car buffer will speed up your detailing process.
When to Seek Help From a Professional
Got a pesky sanding mishap you can’t seem to fix? It happens to the best of us! Here are some signs that it might be time to call in a pro.
- Visible Scratches: If your sanding efforts have left behind noticeable scratches that home remedies can’t fix, it’s a good idea to get some expert help. They’ve got the skills and tools to smooth everything out.
- Cloudy Clear Coat: That hazy finish you’re dealing with? You might just need a professional’s touch to get the clarity back. They can achieve that flawless look you want.
- Deep Imperfections: Major paint issues can feel overwhelming. A licensed painter has all the right equipment to tackle those tricky spots effectively.
- Color Matching: Painting isn’t just about slapping on a coat of paint. If you’re worried about how to blend colors seamlessly, pros know how to make sure everything looks even.
- Failed Repairs: If your DIY attempts have made things worse, don’t hesitate to bring in a professional. Sometimes, a little expert help can save you time, money, and frustration in the long run.
For finishing touches, using the right lint free cloth can make a significant difference in preventing further damage or residue during cleanup.
Frequently Asked Questions
How to Stop Marks Showing Through Paint?
To stop marks showing through paint, we need to focus on proper paint preparation and surface priming. By sanding, cleaning, and applying thin layers with a primer, we can achieve a flawless finish together.
How to Fix Spackle Showing Through Paint Without Sanding?
Like a sculptor refining their masterpiece, we can fix spackle showing through paint without sanding by applying high-quality paint primer. This seals the spackle and prepares a smooth canvas for our final brushstrokes.
How to Get Rid of Paint Mistakes?
To get rid of paint mistakes, we should focus on surface preparation first. Properly sand and clean the area before doing paint touch-ups, ensuring a smooth finish for a polished and professional look.
How to Fix Sanding Mistakes?
To fix sanding mistakes, we’ve got to refine our sanding techniques and guarantee thorough paint preparation. Lightly sand the area, apply a buffing compound if needed, then use multiple coats for seamless blending.


