As an Amazon Associate, we earn from qualifying purchases. Some links on this site are affiliate links at no extra cost to you. Our recommendations are based on thorough research and editorial judgment.
How Temperature and Humidity Affect Painter’s Tape Adhesion
Have you ever struggled with painter’s tape not sticking properly? It can be frustrating when you’re trying to get that perfect line, and then the tape just won’t hold. One big thing to keep in mind is how temperature and humidity can affect adhesion.
For the best results, try to work in temperatures between 15°C and 30°C (that’s about 59°F to 86°F) and keep humidity levels around 40% to 60%. If it’s too cold, the tape might not grip well, and if it’s too humid, that bond can weaken. So, before you start your painting project, check the weather!
Here’s the trick: store your tape in a cool, dry place. It’s also a good idea to let it sit at room temperature for about 24 hours before using it. This small step can really boost its performance.
So, why does this matter? Well, when you’re trying to achieve clean lines, every little detail counts. Keeping an eye on the conditions can make a huge difference in those results you’re looking for.
In short, pay attention to temperature and humidity for better tape adhesion. What’s your go-to tip for using painter’s tape?
Key Takeaways
- The ideal temperature range for optimal painter’s tape adhesion is between 15°C to 30°C (59°F to 86°F) to ensure proper grip.
- High humidity levels can create moisture barriers on surfaces, weakening the adhesive bond of painter’s tape.
- Low humidity can cause the adhesive to dry out, diminishing its stickiness and effectiveness during use.
- Low temperatures may result in stiff adhesive, leading to poor initial tack and potential peeling issues.
- Thicker tapes (7-10 mils) are recommended in humid environments, providing better adhesion and resistance to moisture.
Understanding The Role of Temperature and Humidity

Have you ever struggled with painter’s tape not sticking like you hoped? It can be incredibly frustrating, especially when you’re trying to get those clean lines on your walls or furniture. One thing that plays a huge role in how well the tape sticks is the temperature and humidity in your workspace.
When temperatures swing, it can really impact how the tape’s adhesive works. Ideally, you’re looking for a sweet spot between 15°C and 30°C (59°F to 86°F). If it’s too hot or too cold, the tape just won’t perform as well as it should.
High humidity is another culprit. If it’s too humid, moisture layers can form on surfaces, which might cause the tape to peel off more easily. On the flip side, low humidity can dry out the tape and make it sticky in all the wrong ways. So, what’s the magic number for humidity? Aim for about 40% to 60%—that’s where the tape tends to thrive.
Excessive heat is also not your friend. Let’s be real: temperatures above 50°C (122°F) can soften adhesives too much, leading to weak bonds. Nobody wants their hard work to fall apart because the conditions weren’t right.
To get the best results, keep an eye on your environment. You want things balanced to ensure your tape sticks properly. So next time you’re getting ready to paint, consider how temperature and humidity are affecting your project. It might just make all the difference.
Proper adhesion strength combined with suitable environmental conditions is key to achieving professional-looking paint lines.
When did you last check the weather before starting a DIY project? It could be worth it to keep those paint lines crisp!
Ideal Humidity Levels for Using Painter’s Tape
Achieving the best results with painter’s tape can be a little tricky, especially when it comes to humidity levels. Have you ever noticed how some paint jobs just look sharper than others? Well, part of that comes from making sure the relative humidity is between 40% and 60%. Keeping your space in this sweet spot can really help the tape stick better.
Let’s talk about high humidity for a second. Excess moisture can weaken the tape’s adhesion. If it’s too humid, the tape might curl up on you, leading to those annoying moments where it peels while you’re trying to paint. No one wants that kind of headache, right?
On the flip side, low humidity can also be a problem. When it’s too dry, the adhesive on the tape can dry out and lose its stickiness. You need that tackiness to ensure the tape bonds effectively to the surface, or else you might end up with messy edges.
To get the best results, make sure to prep your surface and check that it’s completely dry before taping. Monitoring the humidity while you paint is crucial for achieving those crisp lines and a polished finish. So, pay attention to the conditions around you, and don’t hesitate to adjust them as needed. It makes all the difference in your project!
Additionally, using low-VOC sealants alongside painter’s tape contributes to better indoor air quality during your painting project.
Have you had any experiences where humidity impacted your painting? It’s all about finding that balance to make your work shine.
The Impact of Temperature on Tape Performance
Have you ever struggled with painter’s tape not sticking like it should? Believe it or not, temperature can make a huge difference when it comes to how well your tape performs. Ideally, you want to stick to a sweet spot between 15°C and 30°C (or 59°F to 86°F) for the best results.
Low temperatures can cause the adhesive to stiffen, making it lose its grip. On the flip side, if it gets too hot, the adhesive might become too soft and slip right off. And watch out—if things heat up past 140°F, your tape could break down, losing all of its sticky goodness.
To get the most reliable adhesion, let your painter’s tape warm up to room temperature before you use it. This little trick ensures the adhesive stays flexible, which helps it stick better to surfaces. So, why does this matter? Well, a good bond means cleaner lines and a better finish in your projects.
Keep these temperature tips in mind, and you’ll set yourself up for success. Next time you tackle a painting project, ask yourself, “Is my tape acclimated?” It might just make all the difference! Additionally, applying tape firmly and allowing it to set for 30 to 60 minutes before painting can significantly improve adhesive performance on textured surfaces.
Common Adhesion Challenges From Temperature Variations
Have you ever tackled a painting project and found your painter’s tape isn’t sticking quite right? It can be super frustrating, especially when you’ve prepped for hours. Believe it or not, just a few degrees of temperature shift can spell trouble for that tape.
Let’s dive into what happens at both ends of the temperature spectrum.
Low Temperatures:
When it’s cold, adhesives can stiffen up, which means they won’t bond as effectively. You’ll also notice that the tape doesn’t flex easily, leading to poor contact with surfaces. This lack of flexibility translates to weak initial tack. If you’re in a chilly environment, you might end up with peeling or uneven paint lines.
High Temperatures:
On the flip side, if it’s too warm, you might have issues with the adhesive softening too much. This can weaken the bond, making it prone to failure. Ever notice how your tape starts to creep instead of holding steady? That’s adhesive creep at work, and it can ruin your clean lines over time.
And let’s not forget about humidity! When the air is heavy with moisture, it can create a layer on surfaces that tape simply doesn’t want to stick to. This can both weaken your adhesion and increase the likelihood of peeling as your project progresses.
So, what’s the sweet spot? Aim to use painter’s tape when temperatures sit between 15°C to 30°C (59°F to 86°F) with humidity levels between 40% to 60%. Sticking to these conditions can save you from unexpected bond failures that kick in when the weather changes.
Honestly, being aware of your environment while working can make a big difference. Have you ever experienced the frustration of having tape lift or peel away? Keeping an eye on those temperature and humidity levels can help you avoid those pitfalls next time you pick up a brush. Using tapes made from high-quality crepe paper can also improve adhesion and durability under variable conditions.
Best Painter’s Tapes for Humid Conditions
Choosing the right painter’s tape for humid conditions can really make or break your painting project. Ever tried to paint in the heat and found your tape lifting or peeling? It’s frustrating! Here’s some advice on what to look out for when you’re shopping for tape that can handle the moisture.
Start by checking for moisture-resistant tapes. These are designed specifically for high-humidity areas, meaning their adhesives won’t weaken when the air gets thick. They’re your best bet if you don’t want to deal with tape that crumbles under pressure.
Next, consider the thickness of the adhesive. Tapes with a thicker adhesive layer tend to have better bonding and flexibility. This is especially important in a humid environment where things can get a bit slippery. You want something that will hold strong despite the dampness.
Also, keep an eye out for UV-resistant features. If you’re painting outside, sunlight can affect the tape over time, causing it to degrade. So, having a tape that can withstand UV rays will save you from redoing your work down the line.
Finally, don’t forget to check the manufacturer’s specifications. Most brands will list the humidity tolerance right on the package. This quick look can give you confidence that you’re choosing the right tape for your needs.
In addition, many premium tapes offer UV and moisture resistance to ensure durability and clean removal even in challenging conditions.
To sum it up, picking the right tape for humid conditions isn’t just a small detail; it can significantly affect your painting results. What’s your go-to tip for tackling challenges in painting projects?
Tips for Storing Painter’s Tape in Sticky Humidity
When the humidity kicks up, storing painter’s tape isn’t just a minor consideration—it’s crucial if you want it to stick when you’re ready to get to work. Let’s dive into some real-life tips that can keep your tape in tip-top shape even when the air feels sticky.
First off, think about the environment where you stash your tape. The goal here is to keep it in a place that’s cool, dark, and dry—preferably where the humidity doesn’t creep above 50%. If you can’t find a spot like that, you’re setting yourself up for a frustrating project down the line.
Try this: store your painter’s tape in zip-lock bags or airtight containers. This simple step can put a solid barrier between your tape and any creeping moisture. It’s a small effort that pays off big time!
Now, don’t forget to play detective from time to time. Regular inspections for moisture damage, like curling or softening, can save you a headache later. If you live in a particularly humid area, I’d recommend checking more often.
Honestly, let’s talk about what happens before you even think of using that tape. Give it a chance to sit out and acclimate to room temperature and humidity for at least 24 hours. This makes a world of difference in how well it adheres to surfaces.
Additionally, using tools and materials made from durable materials such as silicone can help maintain effectiveness even in sticky conditions.
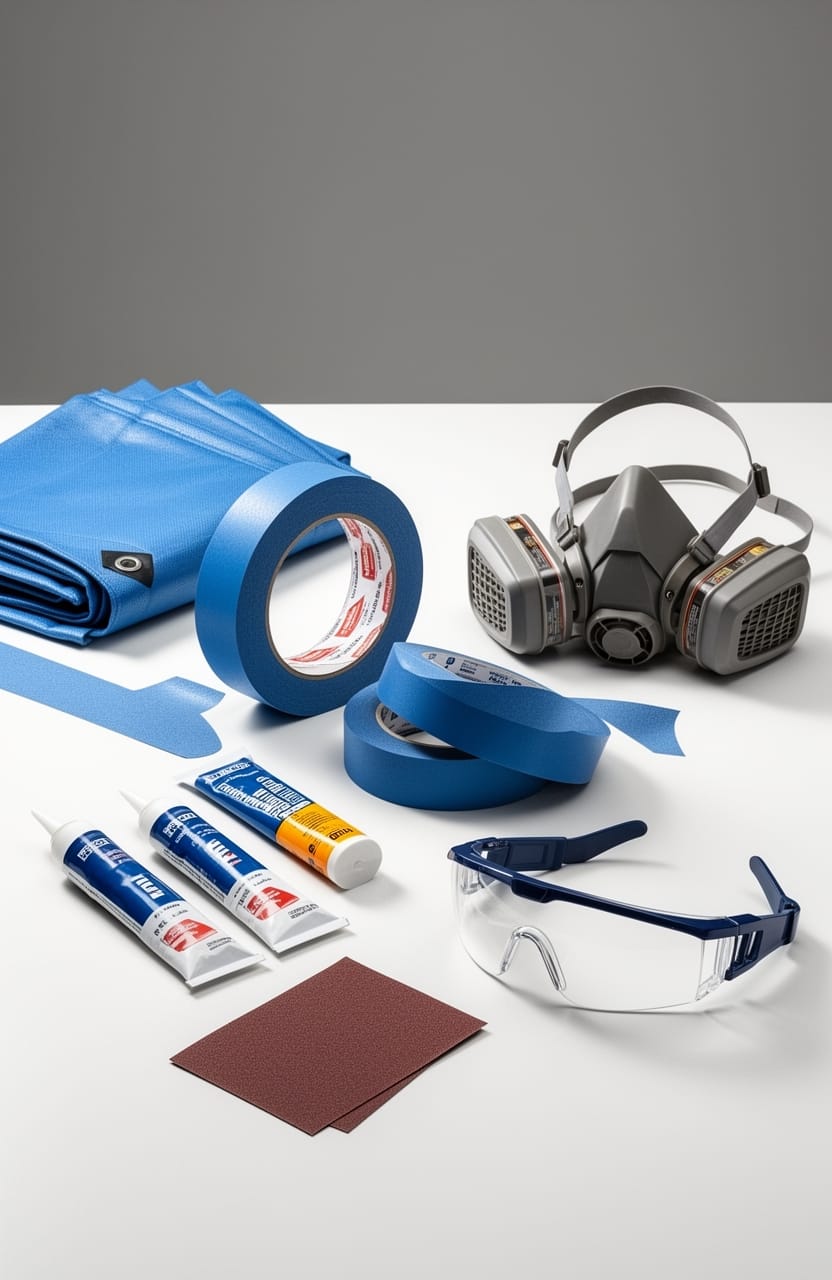
Essential Surface Preparation Tips for Painter’s Tape
Want to get the most out of painter’s tape? It’s all about prepping that surface right. If you skimp on this step, it can impact how well the tape sticks and how clean your lines end up.
First off, cleanliness is key. You really need to check that surfaces are free from dust, oil, or grease. These little nasties can mess with how well the tape adheres. So, take your time cleaning!
Here’s a simple method: grab a damp cloth and wipe down the surface thoroughly, but don’t forget to dry it completely afterward. Moisture can ruin your tape job before it even starts.
Now, if you’re working with porous materials like wood, sealing the surface is a smart move. This helps cut down on moisture absorption that affects tape adhesion. Trust me, it’s worth that extra step for a solid result.
When it comes to the environment, aim for the sweet spot: apply your tape at a relative humidity of 40%-60% and temperatures between 15°C to 30°C (or 59°F to 86°F). So, why does this matter? If the conditions aren’t right, you could end up with a sticky mess that doesn’t yield the clean lines you’re looking for.
And let’s not forget about testing! Before you go full steam ahead, it’s a good idea to try a small section of tape first. This can help you figure out if it sticks well under the conditions you’re dealing with.
Keep in mind that choosing a tape with the right temperature resistance can significantly improve adhesion and paint-line sharpness in varying conditions.
To wrap it up, prepping your surface can really make a difference in your painting project. Ready to dive in? What’s your next project where you plan to use painter’s tape?
Acclimating Tape for Best Results
Proper acclimation is key if you want your painter’s tape to perform at its best. Did you know that temperature can really influence how well the adhesive sticks? For optimal results, keep that tape cozy in a range of 15°C to 30°C (59°F to 86°F). Let’s dive into some straightforward tips for getting your tape ready for action.
- Ideal Humidity: Aim for a relative humidity level of 40% to 60%. It makes a difference.
- Stable Storage: Keep your painter’s tape stored in a consistent environment, ideally between 18°C to 22°C (64°F to 72°F).
- Avoid Extremes: Think of your tape like it’s sensitive; extreme temperatures—both hot and cold—can mess with its adhesive qualities.
- Acclimation Time: Don’t rush it—give your tape at least an hour to adjust before you start using it for your project.
When you take these steps, you’ll enhance the bonding power of the tape. So why does this matter? Well, proper acclimation can save you from frustrating moments when your tape fails to stick as needed. Truth is, a little patience goes a long way in achieving that crisp, clean line you’re after.
In short, treat your tape with care, and it’ll deliver the results you want. Applying a high build primer before taping can also improve surface adhesion and protect the material underneath. What’s your go-to tip for using painter’s tape?
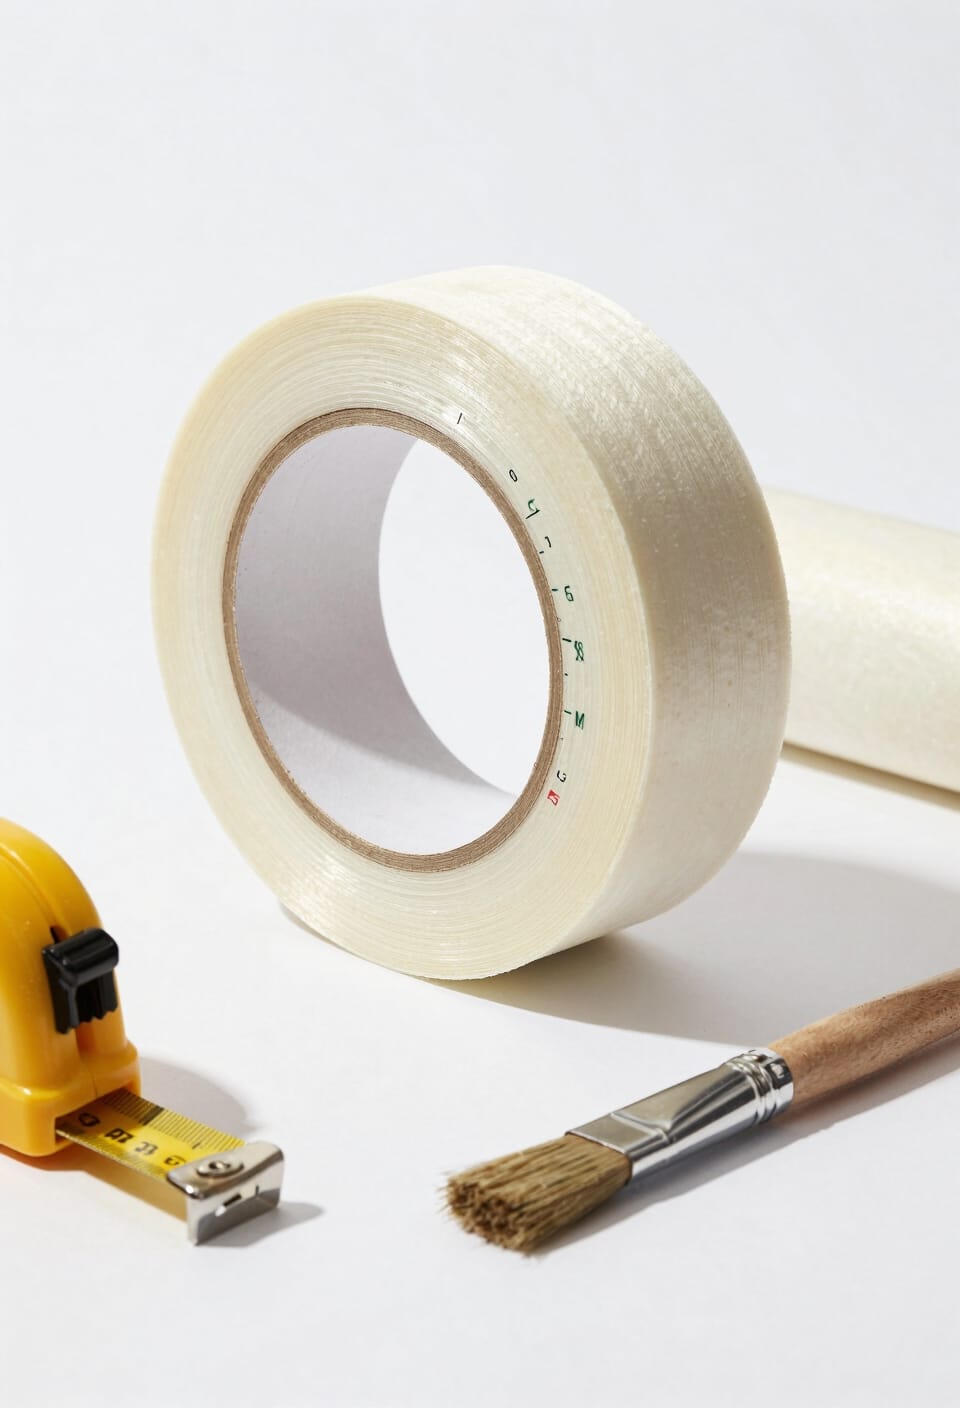
The Importance of Tape Thickness in Humid Environments
Have you ever struggled with tape that just won’t stick in humid weather? It’s frustrating, right? Understanding tape thickness can save you from those sticky situations, especially when moisture in the air messes with adhesion.
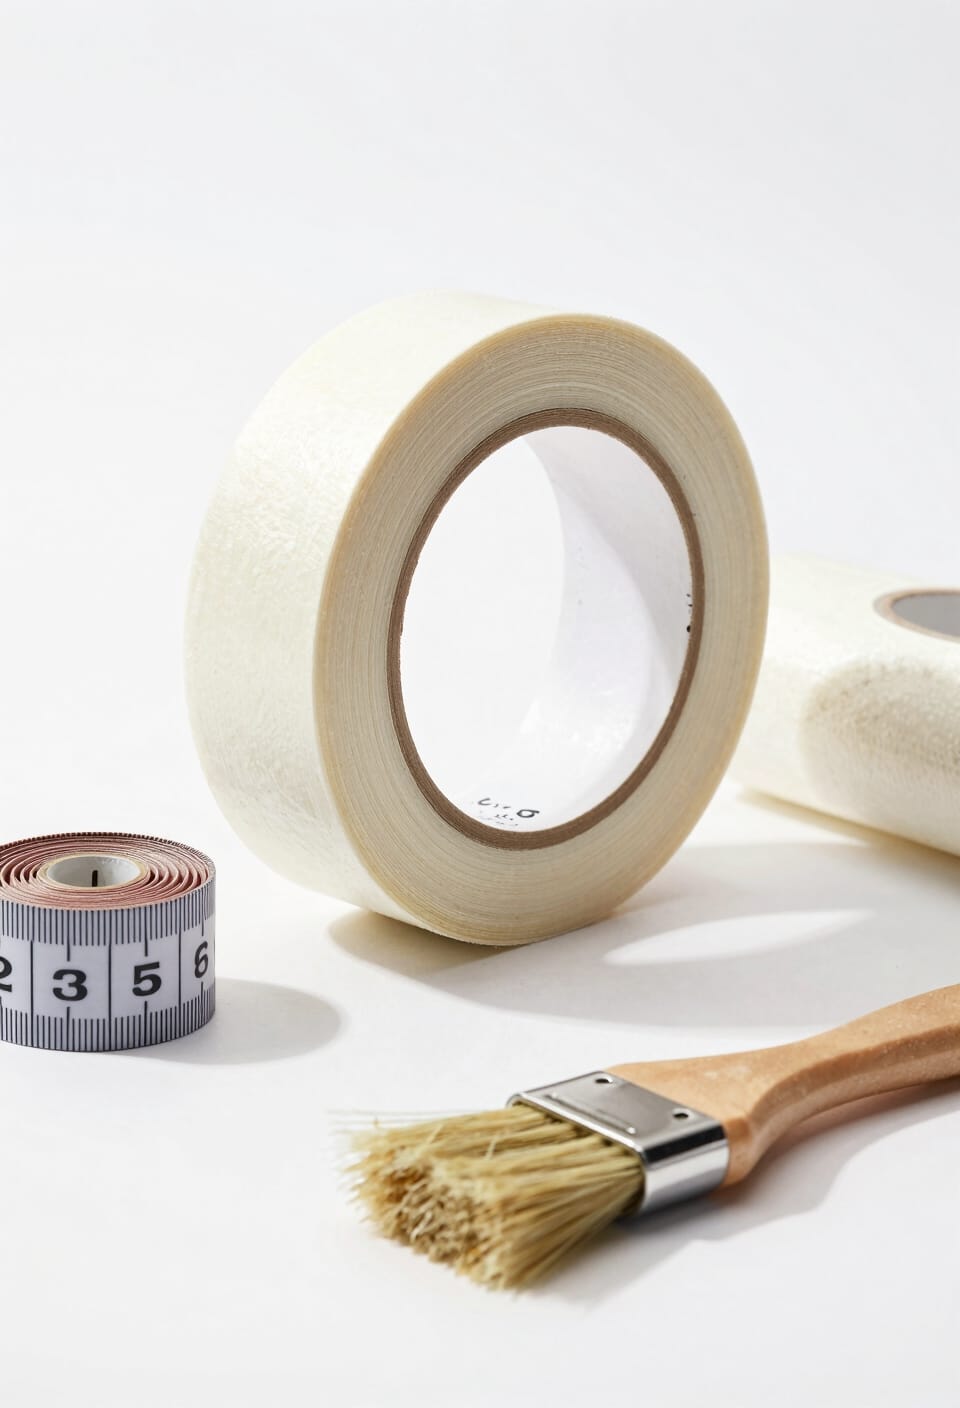
For those humid days, you’ll want to aim for masking tape thickness between 7-10 mils. This range strikes a good balance between being effective and easy to work with. Thicker tapes are better at sticking to surfaces because they have more adhesive material, which helps them take on any bumps or irregularities you might encounter.
When humidity levels rise, thicker tapes generally hold up better. They resist moisture effectively, maintaining strong bonding performance. Plus, with increased thickness, you’re likely to run into fewer problems like curling or peeling—issues that can really mess up your project.
Most quality yellow painter’s tapes feature a crepe paper backing that supports resistance against moisture and UV exposure, enhancing durability in challenging conditions.
So, what’s the takeaway here? Whether you’re painting a room or tackling a craft project, using thicker tape minimizes the risk of bond failure, leading to a reliable finish and overall better results.
Next time you’re working in a humid environment, keep these factors in mind to make your tape application smoother. What are some of your go-to tips for dealing with humidity in your projects?
Long-term Storage Strategies for Painter’s Tape
Have you ever grabbed your painter’s tape only to find it’s lost its stickiness? If you’ve run into this issue, you’re not alone. Keeping painter’s tape in top condition can be tricky, but thankfully, with some simple storage tips, you can extend its life and effectiveness.
Ideal Storage Conditions: First off, find a cool, dark, and dry spot in your home for your tape. Aim for a temperature between 18°C–22°C (64°F–72°F) and keep humidity levels around 40%–60%. It’s a small tweak, but it makes a huge difference.
Mitigating Moisture Exposure: If the weather’s been particularly humid, try this: stash your painter’s tape in sealed plastic bags. This simple step can help protect it from moisture damage and keep it ready for your next project.
Regular Inspections: Every now and then, take a look at your stored tape. Are there any signs of damage or degradation? You don’t want to realize you’ve got a problem when you’re in the middle of a project. Keeping an eye on your supplies can really help prolong their usable life.
Quantity Control: It’s tempting to stock up, but don’t go overboard. Keeping only what you need ensures you’re always working with fresh tape, not something that’s been sitting around for ages.
Quality Matters: Not all painter’s tapes are created equal. Going with a reputable brand can save you headaches down the line, as quality tape tends to last longer and maintain its effectiveness while stored away.
Additionally, understanding temperature resistance levels is key, as extreme temperature swings can degrade adhesive properties over time, affecting tape performance.
Frequently Asked Questions
Does Humidity Affect Paint Adhesion?
Yes, humidity affects paint adhesion. We’ve noticed that temperature variations and environmental factors can compromise the adhesive properties of painter’s tape, leading to issues like peeling or poor bonding if conditions aren’t ideal.
Why Is Painters Tape Not Sticking?
Painter’s tape might not stick due to inadequate tape surface preparation, compromised adhesive properties, or unfavorable environmental factors. We should guarantee surfaces are clean and conditions are ideal for the best adhesion results.
Does Heat Make Tape More Sticky?
Like a smartphone in a hot car, heat can enhance tape performance initially by improving adhesive properties. But too much heat harms stickiness, leading to potential failures. We should always monitor temperature effects on our tapes.
How Does Humidity Affect Adhesives?
Humidity affects adhesive properties by altering tape performance. Higher humidity levels can weaken attachment, causing tape to curl and lose tackiness. We’re all better off choosing ideal conditions to guarantee reliable adhesion and successful results.


