As an Amazon Associate, we earn from qualifying purchases. Some links on this site are affiliate links at no extra cost to you. Our recommendations are based on thorough research and editorial judgment.

Why Paint Bleeds Under Tape (and How to Prevent It)
Ever had that frustrating moment when you’ve just finished taping off an area for a paint job, only to see that pesky paint bleed under the tape? It can ruin your hard work in seconds.
So why does this happen? Well, it often boils down to a few key factors like applying too much paint, not sealing the tape properly, or simply using tape that isn’t the best quality.
To really nail that clean edge, consider these tips:
- Apply light coats of paint. Thinner layers are your friend here.
- Make sure to clean the surfaces before you apply tape. A clean surface helps the tape stick better.
- Pick high-quality painter’s tape. Cheap tape might be tempting, but it’s not worth the mess!
- Seal the edges with a base color before you start painting in your chosen color.
And don’t forget about the importance of how you apply that tape. Pressing down the edges so they’re sealed tight and removing the tape at the right time can make a big difference.
So, why does this matter? When you take these extra steps, you’ll end up with those crisp, sharp lines that make your painting project look professional.
Honestly, implementing these small changes can really enhance your results. If you keep these tips in mind, you’ll reduce the frustration and enjoy your painting projects even more.
Have you tried any of these techniques before, or is there something new you’re excited to test out?
Key Takeaways
- Excessive paint application and poor tape adhesion can cause paint to seep under the tape edges.
- Low-quality painter’s tape may not seal properly, allowing paint to bleed through.
- Ensure surfaces are clean and dry to promote effective tape adhesion and minimize bleeding risk.
- Seal tape edges with a thin layer of base color before painting for added protection against seepage.
- Remove tape while paint is still wet to achieve clean lines and reduce the risk of paint lifting.
Top Causes of Paint Bleeding and Their Solutions

Have you ever tried to paint something only to find your lines looking more like a messy puzzle? Paint bleeding can be such a headache, and a few common culprits are often to blame.
First off, applying too much paint can really do you in. When you slather it on, it can sneak underneath your painter’s tape, ruining that crisp line you were aiming for. So, keep your application light and even—it’ll save a lot of touch-up time later.
Another thing to watch out for is the surface you’re working on. If there’s dust, dirt, or leftover sanding residue, it can mess with the tape’s adhesive. Those little gaps are just inviting paint to slip through. Make sure you prep your surface properly; it makes a big difference in the results.
Let’s also talk about tape quality. Sometimes we cheap out and buy masking tape that just doesn’t do the job. Trust me, investing in high-quality tape, like Frog tape or Scotch Brand #218, can really pay off when it comes to keeping your paint where it belongs.
Don’t forget to consider the environment, either. High humidity or extreme temperatures can cause your tape to lift up, creating a sneaky opening for that paint to bleed through. It’s worth checking the weather before you start that project.
If you want a foolproof way to minimize bleeding, here’s the trick: seal the edges of your tape with a thin layer of your base color before applying a second color. It acts like a barrier and can make all the difference in keeping those lines sharp.
In the end, keeping an eye on paint application, surface prep, tape choice, and environmental conditions can help you avoid the dreaded paint bleed. Using sanding techniques that include wet sanding can also create a smoother surface that helps tape adhere better.
What have you learned from your own painting experiences?
Recommended Products


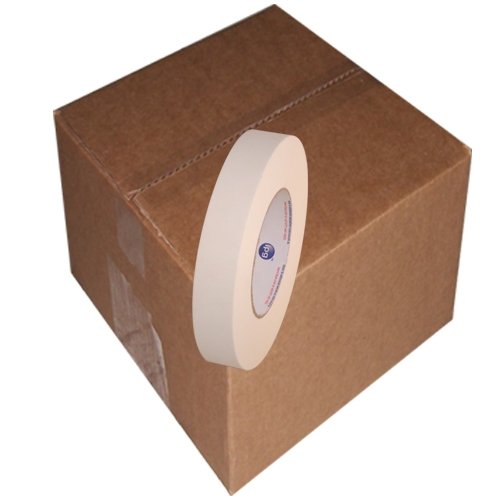
White 11-mil Premium Heavy-Duty Professional Gaffers Tape.
he following data are nominal values based on PSTC , ASTM and other standard tests. The data should not be considered as specifications.
Why Sealing Edges Matters for Preventing Bleeding

Have you ever started a painting project only to end up with paint creeping under your tape? It’s frustrating, right? Sealing the edges of your painter’s tape can make a big difference in how clean those lines look. Here’s why you should seriously consider this technique.
First off, think of it as creating a barrier. When you apply a base coat to seal the tape, it stops that pesky paint from sneaking underneath. You want to avoid those messy edges at all costs.
Now, let’s talk about adhesion. Don’t you hate it when tape lifts up and allows paint to flow where it shouldn’t? By sealing the tape, you ensure it sticks tightly to the surface, which means fewer gaps for paint to escape through.
Another handy tip is to apply a thin layer of your base color over the tape. This little trick helps fill in any microscopic gaps that might let paint through. Honestly, it really does improve the integrity of the tape.
It’s super important to be patient here. Always wait for that sealing layer to dry completely before diving into your top color. That way, you maintain the tape’s grip and keep those lines crisp.
For best results, make sure to use painter’s tape that is designed for your wall texture to ensure optimal adhesive strength and prevent bleeding.
Recommended Products

SUPERIOR FLEXIBLE SEALANT: Liquid Rubber's foundation sealer creates a permanent waterproof membrane for basement waterproofing, foundation leak repair, shower liners, and planter boxes. This professional-grade sealer delivers unmatched protection with 900% elongation, preventing leaks and water damage more effectively than traditional sealants

100% Grout-Free & Watertight System: Eliminate the hassle of grout maintenance forever. Made from robust, non-porous PVC, this surround is naturally water resistant, providing a seamless, wipe-clean surface that guarantees a watertight seal when installed correctly.

PROTECTIVE MULTI-USE ROOF SEALANT: The Liquid Rubber silicone roof coating can be used as a flat roof sealer, on sloped roofs, sheds, wood, concrete, as a metal roof sealant. No matter the material, Liquid Rubber has you covered.
Master Effective Tape Application Techniques

When you’re painting, one big headache is dealing with paint bleeding under tape. It can ruin your hard work in an instant. To get those clean lines you’re after, let’s dive into some handy techniques.
First off, make sure your surface is ready to go. It sounds simple, but trust me, if it’s not clean and dry, you’ll regret it when that paint bleeds through. Take a few minutes to wipe down the area and remove any dust or leftover sanding residue. It’s these little details that can make a world of difference.
Next, please don’t skimp on the tape. It’s worth it to reach for painter’s tape like Frog Tape or 3M Scotch Brand #218. These products create a better seal, which is exactly what you need to keep your paint where it belongs.
Here’s the trick: once you apply the tape, you should burnish the edges. Grab your fingernail or a credit card, and press down on the edges firmly. This helps seal the tape against the surface, minimizing that infamous bleed.
Honestly, the game plan shouldn’t stop there. Before you slap on a different color, try sealing the edges even more. Paint a thin coat of your base color over the tape edges. Let it dry for a bit. This creates a barrier so when you paint over with the new color, you’re far less likely to see any mess.
When it’s time to remove the tape, be careful. It’s best to do this while the paint is still wet. If you’ve let it dry, grab a utility knife and score along the tape edges first. This little step can save you from peeling off bits of your freshly painted masterpiece.
Also, consider using tape with medium adhesion to ensure a secure hold and clean removal without leaving sticky residue.
Recommended Products

Available in a wide variety of vivid colors for diverse applications

Available in a wide variety of vivid colors for diverse applications

Made From Solid Reclaimed Wood – Features a rustic look that complements kitchen, living room, bedroom, or office spaces. Each piece may vary slightly in tone and texture due to its reclaimed nature
Essential Tools to Prevent Paint Bleeding
Want to keep those paint lines sharp and clean? It can be a real challenge, especially if you’re tired of dealing with paint bleeding everywhere. To help you get the smooth finish you’re after, here’s a list of essential tools that can make all the difference.
Start with high-quality painter’s tape. Brands like Frog Tape or 3M Scotch #218 are popular for a reason—they provide a better seal and help keep the paint where it should be.
To really lock in those edges, try using a pressing tool. You don’t need anything fancy; a small plastic spoon or even a credit card will do the trick. Just run it along the edge of the tape to seal it up tight.
Here’s the trick: apply a base coat along the edges of the tape before you start painting. This little step creates a barrier that’ll significantly lower the chances of any paint sneaking underneath.
Don’t forget to have a small brush handy. Even with all the right tools, you might still end up with minor bleed spots. Having that brush ready means you can easily fix those boo-boos when the tape comes off.
Also, keep an eye on the temperature and humidity where you’re working. Believe it or not, these factors can affect how well your tape sticks during the painting process.
For best results, choose a tape that offers clean removal capabilities to prevent damage when peeling off after painting.
Recommended Products

Synthetic blend for all paints, latex and oil-based

Solid reclaimed wood construction. Each shelf is made from real reclaimed wood with natural variation in color, grain, and character due to previous use and aging

HIGH-QUALITY: Multi-track tape dispenser with extra wide, anti-rust blade to reduce working time from aligning the tape end with cutting edge.
Fixing Paint Bleeding: Quick Solutions
Painting can be a fun project, but paint bleeding can mess things up pretty quickly. If you’re faced with those pesky imperfections, don’t stress; there are some straightforward tricks you can try to fix them.
Start by lightly sanding the affected area. This isn’t just busywork; it creates a smoother surface for any touch-up paint you’ll apply next. Next, grab a small brush and carefully reapply the original or matching paint right at the edge of the tape. This can help you achieve a seamless look, making the repair less noticeable.
For minor bleeds, sometimes you just need a quick touch of that original paint color. It’s all about precision here. And, once you’ve done your touch-ups, consider sealing the area with a clear coat. This will help blend the edges and also protect against any future mishaps.
Always have a fine-tipped brush at the ready. It really comes in handy when you’re working around intricate edges. So, why does this matter? Because those little details can make a big difference in your final project.
Using a high-quality canvas painters tarp during your painting can minimize paint drips and protect surrounding areas from bleed-through.
The key takeaway? You can fix paint bleeding with just a little patience and the right techniques. Have you run into paint bleeding in your projects? What solutions have you found effective?
Recommended Products

The Empire macaw cage is one of the largest cages available from Prevue Pet Products
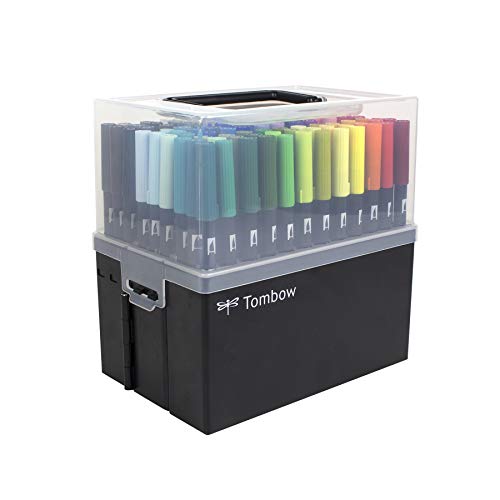
Complete collection of 108 Dual Brush Pens in the Tombow Marker Case
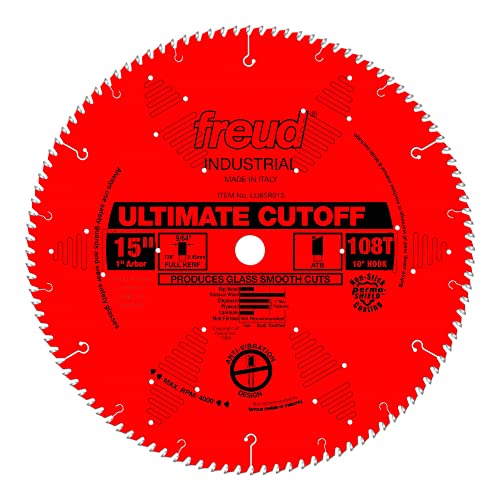
Premium TiCo Hi-Density Carbide crosscutting blend for maximum performance
Pro Tips for Clean Lines While Painting
Achieving clean lines while painting can truly elevate your project. Ever find yourself staring at those messy edges, wishing for a little magic to make them perfect? Here are some solid tips that can lead you to crisp, clear lines.
First off, let’s talk about painter’s tape. Press it down firmly along the edges. Here’s the trick: you can use a plastic spoon or even a credit card to really seal it. This simple step can help prevent paint from bleeding under the tape.
Another handy tip is to create a barrier layer. Before you start with your second color, apply a thin layer of your base color right over the tape’s edge. This trick creates a wall that keeps your paint where you want it—on the surface and not running underneath.
When it comes to tape, not all are created equal. Choose quality options like Frog tape or 3M products. They stick better and do a great job of minimizing seepage. You want your paint job to shine, and it starts with the right tools.
Now, let’s get into paint application. It’s crucial to control how much paint you’re using. Avoid putting on too much or spraying too close to the tape. A light touch goes a long way in ensuring nice, clean lines.
Finally, when it’s time to remove the tape, do it while the paint is still wet for the cleanest edges. If you’re dealing with dry paint, take a utility knife and slice along the edge of the tape before pulling it away. This can really save you from tearing or smudging those perfect lines. Choosing tapes with clean removal capabilities also helps prevent residue and ensures sharp paint lines.
Frequently Asked Questions
How Do You Stop Paint From Bleeding Through?
To stop paint from bleeding through, we should use high-quality tape types designed for clean edges. Choosing the right paint finishes and applying thin layers will help achieve those sharp lines we desire.
How to Prevent Paint Damage When Removing Tape?
Oh, the drama of tape removal! Let’s embrace our finesse. We’ll peel the tape while the paint’s wet, using our best tape removal techniques. And if it’s dry, a knife’s our ally against paint adhesion factors.
How to Stop Paint Bleeding Under Tape Reddit?
To stop paint bleeding under tape, we should choose high-quality tape types, guarantee proper tape application by pressing edges firmly, and apply a sealing coat of base color before adding the final paint layer.
How to Use Masking Tape Without Bleeding?
When we want to strike while the iron’s hot, we should use masking techniques like applying a thin base coat. For best results, let’s stick with high-quality tape brands, ensuring flawless paint edges every time.


